7. Project Builds.
You will create both builds.
Bird Feeder.
Tools Needed: Saw or jigsaw, sander, Drill and Screws OR Nails and Hammer
Materials:
1” x 4” x 8 foot piece of cedar or pressure treated wood for outside durability
Nails/screws
Wood glue
-
Screw-in cup hook
Paint/stain (optional)
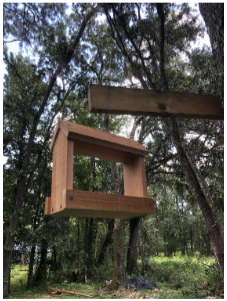
Step-by-Step Build:
Cut 3 pieces to 11” and 3 pieces to 9”.
Take 2 of the 9” pieces and cut it to make a peak at the top.
Cut one of the 11” pieces in half long ways.
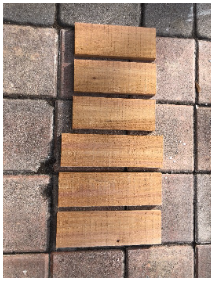
4. Cut 2 of the 11’ pieces at 45 degrees on length of one side.
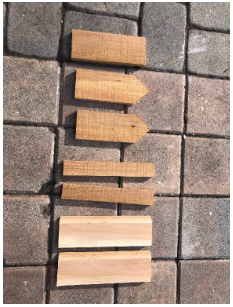
5. Note: If you are using screws you need to drill a pilot hole first so the wood doesn’t split.
6. Install the 9’ bottom to the sides.
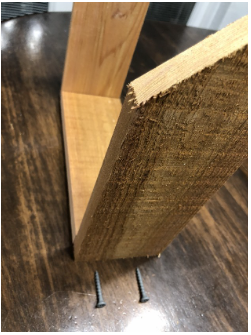
7. Install the roof pieces.
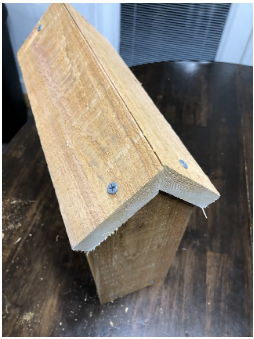
8. Install the bottom sides.
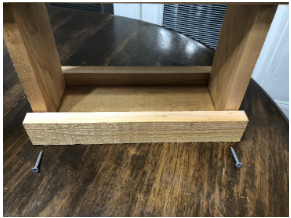
9. Sand, paint and stain if desired.
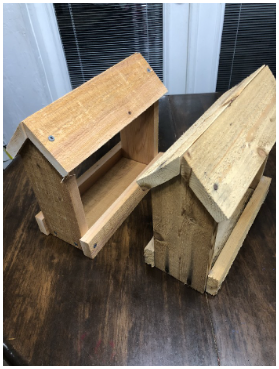
10. Install the screw hook and hang.
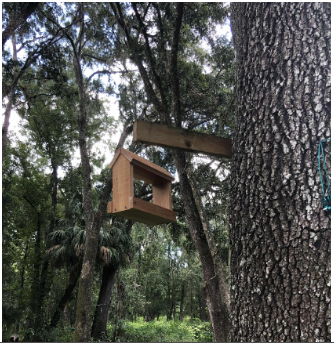
Birdhouse Build Project Rubric (20 Points Total)
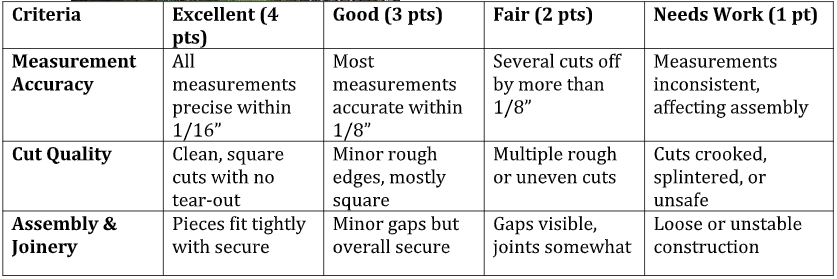
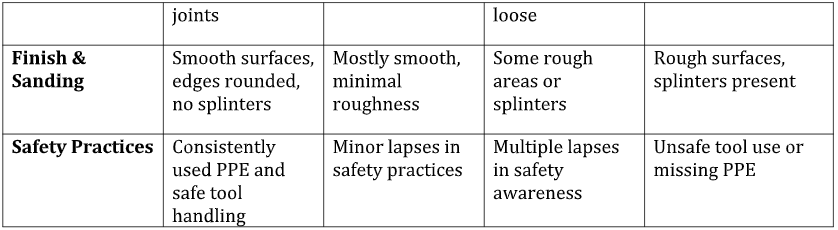
Score/20
Shelf Build Plan.
Tools Needed: Saw (hand or circular), Level, Drill and Screws OR Hammer and nails.
Materials:
½” x 6” x 8 foot
Nails/screws
Wood glue (optional)
Paint/stain (optional)
Step-by-Step Build:
Cut 1 piece to 24” or 2 feet.
Cut 1 piece 22.5”.
Cut the 22.5” piece in half lengthwise.
Cut a square 5.5” x 5.5”
Cut it in half diagonally to make 2 triangles.
-
NOTE: When using screws make pilot
holes so the wood doesn’t split.
-
Attach the 2 triangles to the 22.5” piece.
TIP: Use a flat surface.
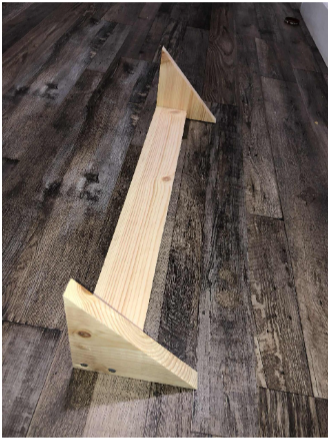
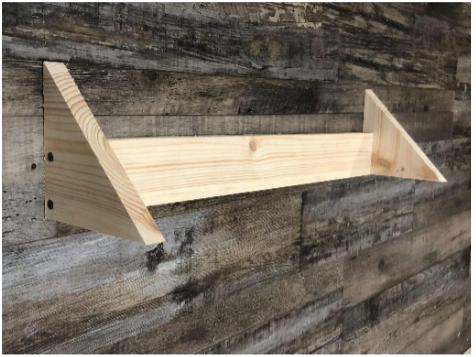
11. Attach the top shelf part.
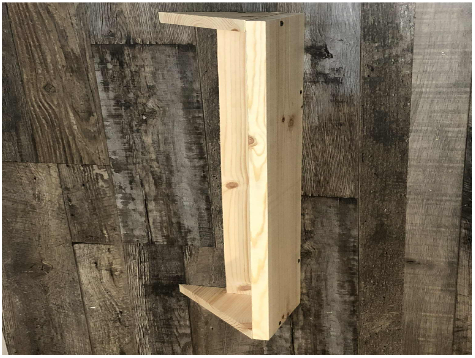
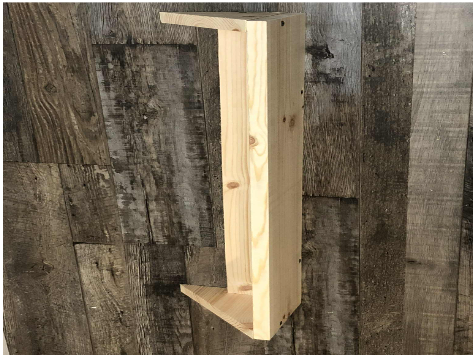
12. Sand and caulk if needed.
13. Paint or stain if desired.
14. Attach to the wall. Locate stud for best results.
Shelf Project Rubric (20 Points Total)
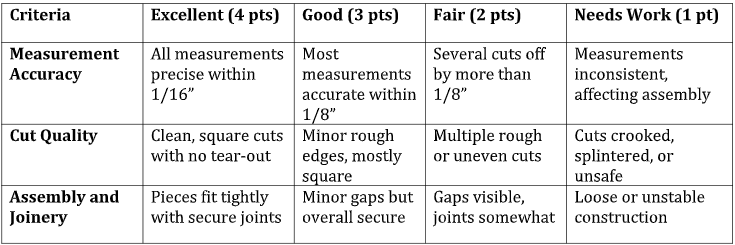
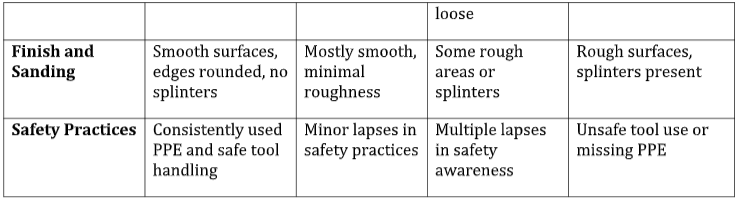
Score /20