9. Mini Header Strength Test
9. Mini Header Strength Test
Objective: Students will test and compare the strength of different materials used for headers, demonstrating how construction material choices affect structural load-bearing.
Materials Needed:
Cardboard strips (cut to ~6" long, 1" wide)
Popsicle sticks (or wooden coffee stirrers)
Glue (wood glue or hot glue)
2 small blocks or stacks of books (as wall supports)
Weights: Pennies, coins, washers, or small nuts
Ruler or measuring tape
Notebook or worksheet for observations
Instructions:
Step 1: Build Two Mini Headers
Header A (Weaker Material): Glue 2–3 layers of cardboard together flat, forming a “beam.”
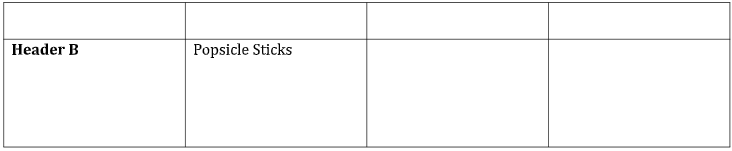
Header B (Stronger Material): Glue 2–3 popsicle sticks together side-by-side and reinforce with one across the bottom like an
Let glue dry before testing.
Step 2: Set Up the Test Rig
Place your two books or blocks about 5" apart to act as “walls.”
Lay Header A across the top like a bridge.
Ensure both ends are well-supported and level.
Step 3: Load the Header
Begin stacking coins or weights on top of the center of the header, one at a time.
Stop when the header visibly bends or collapses.
Record how many coins it held before bending.
Repeat for Header B.
Step 4: Compare Results
Record in a table:
Mini Header Test Results

Which held more weight?
What material properties made a difference?
Step 5: Reflect
Write 2–3 sentences answering:
Why do real headers need to be made from strong materials?
What surprised you about your results?